Most clients arrive at a design project with a clear goal — a new logo, a trade show banner, a product catalog — but far less clarity about what happens between that first conversation and the finished file landing in their inbox. That gap in understanding is one of the most common sources of frustration on both sides of a creative project. Designers feel their process is not being respected; clients feel they are paying for something opaque.
The good news is that professional graphic design follows a repeatable, logical process. Once you understand each phase, you can participate more effectively, give better feedback, and set realistic expectations for timelines and costs. If you are planning a custom design project, this guide will help you know exactly what to expect.
Below is a full walkthrough of the seven phases that make up a well-run custom graphic design project, from the first brief to the final production-ready file delivery.
Phase 1: Discovery and the Creative Brief
Every project starts with discovery — a structured conversation (or written questionnaire) designed to surface the information a designer needs before touching a single tool. The output of this phase is a creative brief: a short document that defines the project scope, target audience, brand guidelines, deliverable formats, tone, and success criteria.
The AIGA describes a well-written creative brief as the single most important document in a design project. That is not an exaggeration. A vague brief produces vague work. A specific brief — one that names the audience, clarifies the message hierarchy, specifies physical dimensions, and lists what formats are needed — gives the designer a clear target to aim for.
What belongs in a good creative brief:
- Project objective: What problem is this piece solving? What action should the viewer take?
- Audience: Who is this for? What do they care about? Where will they encounter this piece?
- Deliverables: Exact dimensions, file formats, quantities, and production methods (print, digital, large-format, etc.)
- Brand constraints: Logo files, color palette (with Pantone, CMYK, and hex values), approved typefaces, tone of voice
- Examples of work you like: Even rough references narrow the creative space enormously
- Timeline and budget: Both affect what is possible
Discovery typically takes one to three business days, depending on how much back-and-forth is needed to fill in gaps.
Phase 2: Research and Mood Boarding
Once the brief is locked, the designer shifts into research mode. This phase is often invisible to clients but it is where the creative direction is shaped. The designer looks at the competitive landscape, reviews current design trends relevant to the category, studies the brand’s existing materials, and begins assembling a mood board.
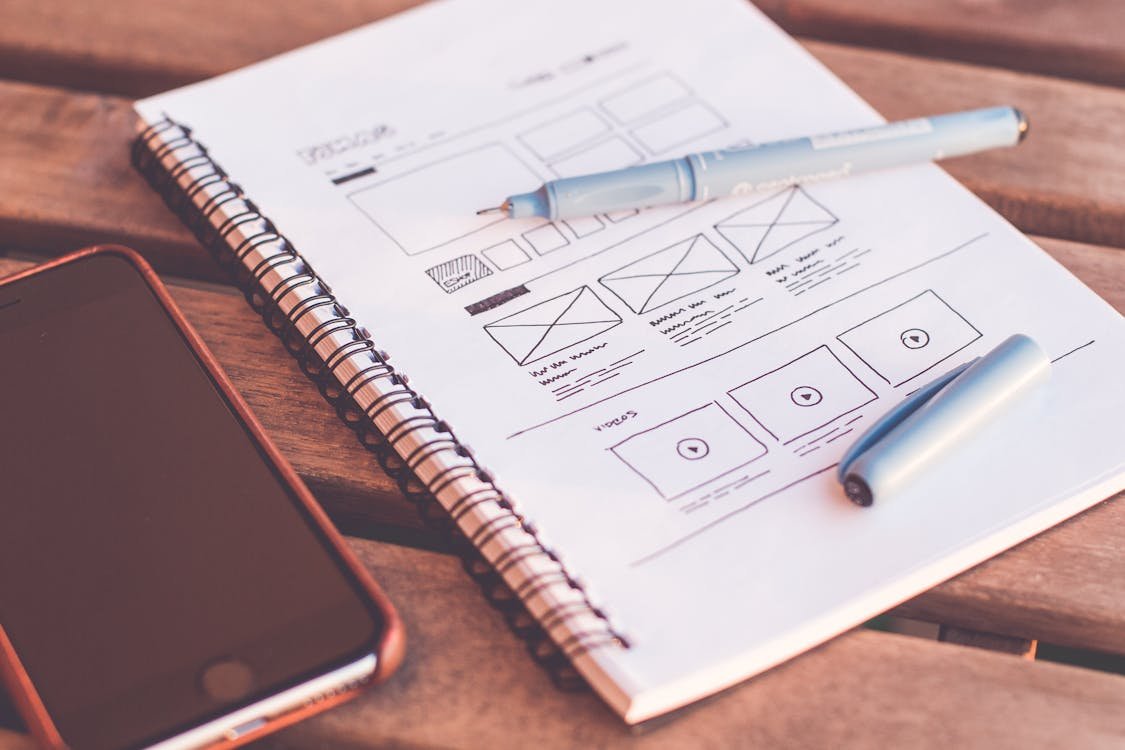
A mood board is a visual collage — drawn from sources like Behance, editorial photography, packaging, environmental design, and typography references — that establishes a visual language before any original work begins. It is not a design; it is a direction.
Presenting a mood board to a client before concept development serves two purposes. First, it gives the client a chance to course-correct at a stage when changes are cheap. If the mood board reads as too corporate when you wanted something warm and approachable, that is a five-minute conversation rather than a full redesign. Second, it aligns the designer and client on subjective terms like “modern,” “premium,” or “bold” — words that mean different things to different people until they are grounded in actual images.
Research and mood boarding typically add one to two business days to a project.
Phase 3: Concept Development
This is the phase most people picture when they think of graphic design: the designer at a screen, building layouts, testing typefaces, exploring color combinations. But concept development is not one continuous pass from blank canvas to finished artwork. It is a structured exploration of multiple directions.
Professional designers generally develop two to three distinct concepts rather than one. HOW Design has long argued that presenting a single concept puts both parties in an uncomfortable position — the client either accepts it or rejects it entirely, with no middle ground. Multiple concepts give clients the ability to respond to genuine options, and often the best final solution is a hybrid that takes the strongest elements from more than one direction.
Large-Format vs. Digital and Web Design Differences
The concept development phase looks meaningfully different depending on the output medium.
For large-format print — trade show displays, banners, wall graphics, vehicle wraps, signage — designers must think about viewing distance, environmental context, and the physics of large-scale reproduction. A layout that reads beautifully on a laptop screen can fall apart at twelve feet wide if the type weight is too light or the contrast is insufficient. Smashing Magazine’s coverage of large-format design notes that experienced large-format designers routinely mock up their work at reduced scale on physical paper before presenting to clients, precisely because screens are so misleading for scale and contrast.
For digital and web design, the concerns shift to responsive behavior, pixel density across device types, accessibility contrast ratios, and how animation or interaction states will affect the layout. A static mockup only tells part of the story.
For print collateral — brochures, business cards, catalogs, packaging — the designer must work in CMYK from the start, accounting for ink trapping, paper stock absorption, and the shift between screen preview and press proof.
Concept development is typically the longest single phase: three to five business days for a moderate-complexity project, longer for anything with multiple deliverable formats.
Phase 4: Presentation and Feedback
Concepts are presented to the client in context. A good designer does not email a flat PNG — they show the work in realistic mockups (a brochure photographed on a desk, a banner rendered in a trade show environment, a logo on actual product packaging) so the client can evaluate the design in the world it will live in, not as an abstraction.
The feedback round that follows this presentation is where many projects either accelerate or stall. 99designs has published extensively on the difference between productive and unproductive design feedback, and the core insight is simple: describe the problem, not the solution.
Productive feedback:
- “The headline feels buried — I want the offer to be the first thing people read.”
- “This color combination reads as too aggressive for our audience.”
- “We need the phone number to be much more prominent.”
Unproductive feedback:
- “Can you make the logo bigger?” (without explaining why)
- “I don’t like it.” (without specifics)
- “My spouse/colleague/friend thinks we should use blue instead.” (without rationale tied to the brief)
Productive feedback gives the designer a problem to solve. Unproductive feedback gives the designer a directive to execute that may or may not solve the actual problem. The best client relationships are ones where the client owns the objective and the designer owns the solution.
Presentation and initial feedback typically resolve within one to two business days.
Phase 5: Revision Cycles
Most design contracts define a set number of included revision rounds — typically two to three. A revision round is not a single small change; it is a consolidated set of feedback addressed in one pass. The discipline of consolidating feedback before submitting it prevents the “one more small thing” spiral that extends timelines and erodes budgets.
Each revision round follows the same structure: the designer reviews all feedback, makes changes, and presents an updated version for client review. By the end of the final included round, the design should be approved or very close to approval.
Changes that fall outside the revision scope — a decision to change the brand colors mid-project, a request to add entirely new sections to a brochure, a shift in the core message after layouts are built — are legitimate change requests but typically trigger a scope-of-work adjustment. This is not the designer being difficult; it is the practical reality of professional services.
Each revision round adds one to two business days.
Phase 6: File Preparation and Delivery
Once the design is approved, the project moves into production file preparation. This phase is technical and unglamorous, but it determines whether the beautiful design you approved actually reproduces correctly in the real world. Skipping or rushing this phase is one of the most common causes of expensive reprints.
Vector vs. Raster Files
Vector files (AI, EPS, SVG) describe artwork as mathematical paths. They can be scaled to any size — a business card logo to a billboard — without any loss of quality. Logos, icons, and type-based graphics should always be delivered as vectors.
Raster files (PSD, TIFF, high-resolution PNG or JPEG) describe artwork as a grid of pixels. They are resolution-dependent: a file sized for web (72 dpi) will print as a blurry smear. Print-ready raster files must be at least 300 dpi at final output dimensions; large-format prints often require 100–150 dpi at actual size because of viewing distance. PrintingForLess maintains detailed file format guides that are worth bookmarking if you work with print vendors regularly.
Color Profiles
Files destined for professional print must be converted to CMYK (or the specific color profile required by the print vendor) before delivery. RGB files sent to a press will be auto-converted by the RIP software, and the results are unpredictable — colors can shift dramatically, especially in saturated blues and purples.
Pantone matching adds another layer: if brand standards require specific Pantone colors, the designer must set up spot colors correctly in the file so the printer can hit the target. This matters most for items like business cards, packaging, and branded merchandise where color consistency is critical.
Bleeds, Trim Marks, and Safe Zones
Any print piece where color or imagery extends to the edge of the paper must include a bleed — typically 0.125 inches of extra artwork beyond the trim line, which gives the cutter margin for error. Without bleed, a slightly off-cut produces a white sliver along the edge.
Trim marks show the press operator where to cut. Safe zones (keeping critical content at least 0.125 inches inside the trim line) ensure that text and logos are not accidentally cropped. Canva’s Design School covers these specifications clearly for common print formats if you want a visual reference.
File preparation for a moderately complex print project takes one to two business days.
Phase 7: Handoff to Production
The final phase is getting the right files to the right people. A complete handoff package typically includes:
- Print-ready PDFs with bleeds and crop marks, in the correct color profile, at the correct resolution
- Native source files (AI, INDD, PSD) in case future edits are needed
- Web-optimized versions if the piece has a digital application (compressed PNG, WebP, SVG for icons and logos)
- Font files or font license documentation so future designers can work with the same typefaces
- Brand asset summary documenting the color values, type specifications, and usage notes used in the project
If the design is going to a specific vendor — a trade show display company, a commercial printer, a sign shop — the designer may communicate directly with the production team to confirm file specifications and address any preflight issues before the job goes to press.
If you want to understand how to brief a design team more effectively before your next project, read our guide on how to brief a design team.
Design Project Phase Timeline
The table below shows realistic day ranges for each phase, split by project complexity.
| Phase | Simple Project | Complex Project |
|---|---|---|
| Discovery and brief | 1–2 days | 2–3 days |
| Research and mood boarding | 1 day | 2 days |
| Concept development | 2–3 days | 4–6 days |
| Presentation and feedback | 1 day | 1–2 days |
| Revision cycles (2 rounds) | 2–4 days | 4–6 days |
| File preparation and delivery | 1 day | 2–3 days |
| Handoff to production | 0.5 days | 1–2 days |
| Total | 8–11 business days | 16–24 business days |
Simple projects: single-format deliverable (e.g., one banner or one business card layout), established brand guidelines, single decision-maker on the client side.
Complex projects: multi-format campaign, no existing brand guidelines, multiple stakeholders with approval authority, large-format plus print plus digital variants.
What Makes Turnaround Time Vary
Timeline is the question clients ask most often and the one designers find hardest to answer precisely before a project starts. The variables that matter most:
- Feedback consolidation speed: The single largest variable. Projects where a single decision-maker reviews and responds within 24 hours move dramatically faster than projects routed through committees.
- Scope stability: Projects where the brief changes mid-development — new formats added, messaging pivoted, brand guidelines revised — will extend regardless of how efficient the designer is.
- File preparation complexity: A simple logo in two formats takes an hour to prepare. A 32-page catalog with embedded spot colors, bleed, and press-ready PDF optimization takes a full day.
- Vendor requirements: Some printers and display manufacturers have non-standard specifications that require additional file preparation time.
- Rush premiums: Most studios can compress timelines by prioritizing a project, but this typically carries a fee and requires advance planning.
Understanding these factors does not just help you plan — it helps you make decisions during the project that keep things moving. The fastest projects are the ones where the client is prepared, responsive, and trusts the process.
Ready to start a custom design project? Contact us to talk through your brief and get a realistic timeline and quote for your specific deliverables.